Now that you’ve completed your Price Matching Preparation, you’re ready to go shopping!
Go Shopping.
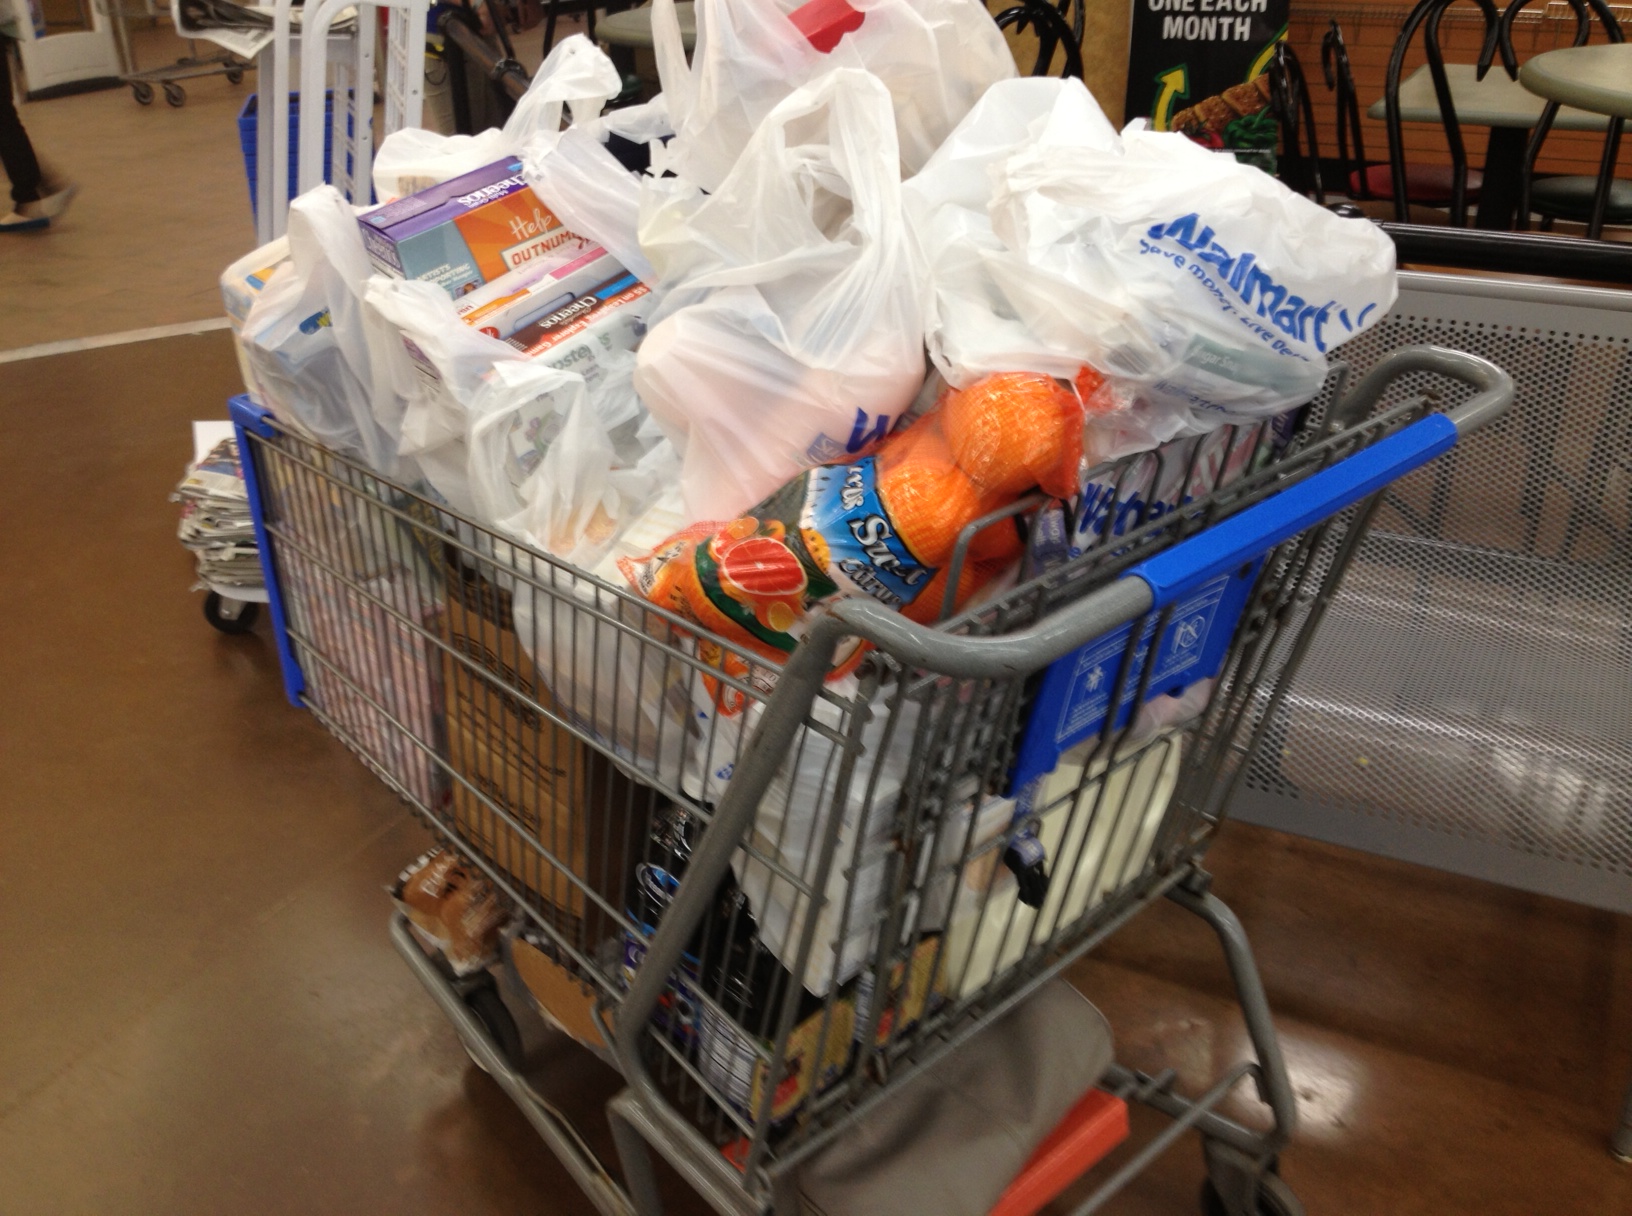
I plan my shopping trips when I know I have enough time and during non-busy store times: early mornings or late week-nights. Don’t plan to shop on Friday between 4-6 or Saturday/Sunday afternoon, it’s too busy. Figure out your path in the store so you can purchase fresh food last (so it doesn’t get bruised) and frozen food second to last (so it doesn’t melt). I usually start with milk and drinks, they’re big, heavy and don’t need a shopping bag during check out. I always leave space in the cart to stack my canned items, so they won’t smash the boxes/packages. And because I’ve given myself enough time and the store isn’t too busy, I have time to search my purchased item options, especially milk, for the farthest expiration dates.

Track Prices & Purchases as you shop.
I open the cart’s child seat, stick my purse where the child would sit and open my Price Matching SparkBook on top. This gives me easy reference and allows me to track my purchases as I shop. For my General Grocery List, I just mark through purchased items. For my Price Matching Grocery List, I complete much more tracking. I use my green highlighter to mark the items I am purchasing that day, pink highlighter for items I’m not purchasing, and my pen completes the original price section.
Have all resources ready for check out.
I worked in retail for many years and I know that cashiers love a pleasant, organized, informed shopper. Put your Price Matching Grocery List, current price matching ads, your current coupons, your gift cards and payment options in an organized place for you to reference during the transaction. I place all of these items on the “shopping table” by the credit card purchase swiping area, but I keep my credit card in my wallet or in my back right pocket until payment.

Manage the check-out process.
When you’re ready to check out, separate the non-price matched items from the price matched items. I usually put my non-price matched items on first and make a small separation “imaginary line” to signify the start of the price matching items, this gives me time to load the belt while the cashier is scanning in the non-price match items. I always let the cashier know in advance that I have items to price match.
Be prepared to verbally state the Price Matching price and show the competitor’s ad, if necessary. This is why I store ads alphabetically and highlight purchased items with my green highlighter, both on the current grocery ads and my Price Matching Grocery List. It makes it much easier to reference during the checkout process.
Try to anticipate the next item selected and look up the price to speed up your transaction, using your Price Matching Grocery List for reference. You’ll also want to watch the cashier re-pricing the items and check the cashier-entered quantities. This allows you to immediately fix any receipt discrepancies. You’ll want to simultaneously place items in your cart correctly to ensure they don’t get smashed (I get out one of each milk/drink item and state the quantity for the cashier so I can leave these items in the cart).
After the items have all been scanned in, provide the cashier with coupons. Then you may pay for the transaction. If you have a lot of price matching items, a manager may be called for verification with your purchase. This is why you bring your competitor’s ads with you and have your resources in plain sight–when you are organized, the employees appreciate this, respect your work and trust your purchase.
When the purchase is completed, fold up your Price Matching SparkBook (you can organize it later) and place your receipt and payment cards in your wallet.
The transaction part of Price Matching moves quickly and can be stressful, because you want to get it right. By shopping during non-busy times, keeping items and resources organized and managing the check-out process, you can ensure that you reduce stress and enhance your success.

Check Receipt.
After you’ve come home and put away the groceries, find a time that you’re able to check your receipt. I try to accomplish this the same day or the next day at the latest. I scan the list for accuracy with pricing, quantities, and coupons. I also label all of the coupons used on the receipt for tracking later (If you forget which coupons you used, remember, you’ve marked them on your receipts with a * for easy reference).

Track Shopping Trip Savings.
I love numbers and statistics, so I set up a spreadsheet to track my items for each purchase which helps me to see “best deal” trends and allows me a detailed double-check of the transaction. (For my most recent transaction, I found a few mistakes and I’ll take the receipt back to the store for correction). The Itemized Tracking Spreadsheet includes these categories:
- Date: The date of the purchase.
- Item: The item purchased. Excel will remember item names, so in the future you’re able to type in just a bit.
- Original Price: The total price I’d have paid for all items at the original price. Example: 8 Lunchables at $1.58 would have been $12.64.
- Actual Price: The total price I did pay for all of the items at the price matching price. Example: 8 Lunchables at $1 was $8.
- $ Saved: The money I saved on each price matching purchase. Example: For Lunchables, I saved $4.64.
- % Saved: The percentage on the items I purchased. Example: For Lunchables, I saved 37%.
- Coupons: If I use coupons on the items, I list this here and add it in as part of the “Actual Price” so I can see the total savings on the item.

Track Annual Savings.
I also track my monthly savings and as a result my annual savings. I use the same categories as listed in the itemized savings, but transfer it all over (through excel formulas) to organize it in monthly/annual savings areas. I like using both of my tracking pages, because it shows me the money I’m saving for my items and shopping trips, reinforcing my excitement for price matching.
Now that you’ve seen Price Matching Preparation and Price Matching In Store & After (this article), you’ve got the tools you need for Price Matching Success. Happy Savings to You!

[…] After you’ve completed the Price Matching Preparation steps, you’re ready to go to the store and Price Match! For step by step tips, read my next post: Price Matching In Store & After. […]
Reblogged this on andreabcreative and commented:
If you missed it earlier, here’s how to successfully Price Match in store and after.
Excellent post. I definitely appreciate this website. Thanks!
[…] Keep Staples on Hand. Since we purchase items in bulk, when they’re on sale through Price Matching, it’s easier for us to always have enough of the staples. Our family tends to only need to […]
[…] able to order photos online and get it shipped free with Site-to-Store. And since I do all of my Price-Match Shopping at Walmart, it’s a very convenient option. I organize all of my online photos by month, […]
[…] 2. Price Match in the store: Now, when I’m in the store to price match, I ONLY purchase the items on sale and I mean the really, really good deals. I tend to purchase enough for 6 months. Wait for the seasonal time to buy your items (like BBQ sauce in the summer and Frozen Food now, after all March is Frozen Food month–I got frozen berries 50% off!) […]
Here is an excellent Blog You may Find Intriguing that we Encourage You
[…] since I started Price Matching. After all, with all the work for Price Matching Preparation and Price Matching in the Store, I want to make sure when I’m calculating my savings, I really did get every price scanned […]
[…] bill this month by 80%. I’m going to continue to use my price matching preparation and shopping strategies, but this month we’ll also make it a point to use what we already own (as you can see, we […]
[…] spent time Preparing to Price Match, shopping & Price Match saving in the store and now you’re home. What to do? Make sure your front-end hard work and savings are […]
[…] price matching grocery list to purchase on-sale favorites using my price matching preparation and in-store […]
[…] with these items, put them on your grocery list and purchase them next time they’re on a price matching sale. This way, when you need it, you have it and don’t have to stop what you’re doing to […]
[…] I’ve gotten 90% of my savings (aka $3000 savings) from Price Matching Preparation and In-Store Strategies . And since I’ve been doing it for so long with the other strategies above–I’m […]
[…] was to reduce our monthly grocery spending by 80%. By using my price matching preparation and shopping strategies, I was able to reduce our monthly grocery spending by 49% for the first half of the year, that […]
Woah! I’m really loving the template/theme of this website.
It’s simple, yet effective. A lot of times it’s hard to
get that “perfect balance” between superb usability
and visual appeal. I must say you’ve done a awesome job with this.
In addition, the blog loads very fast for me on Firefox.
Excellent Blog!